For the first week of the class I received the assignment of doing a flashlight with the only two following requirements": It has to be portable and it has to create light. As soon as I heard the word “portable” I transformed it into wearable and I started doing some research on options about how to create a flashlight that could be used in order to solve an specific problem.
While doing a benchmark research I decided to focus my ideation process on creating a necklace that produced light, I found some ideas that helped me shape the product. I also created a moodboard in order to define the use cases and the look and feel of the flashlight.

Moodboard for flashlight
The next phase of the process was to define the materials to use, I wanted my flashlight to not only generate light from the “front” but only from the sides, therefore I knew Acrylic would be the better option in order to create what I was planning. I also decided to work with “layers” of acrylic to that when the LED would be on, some light would come out from the sides but not in an homogenous way, and instead it would create a line pattern.
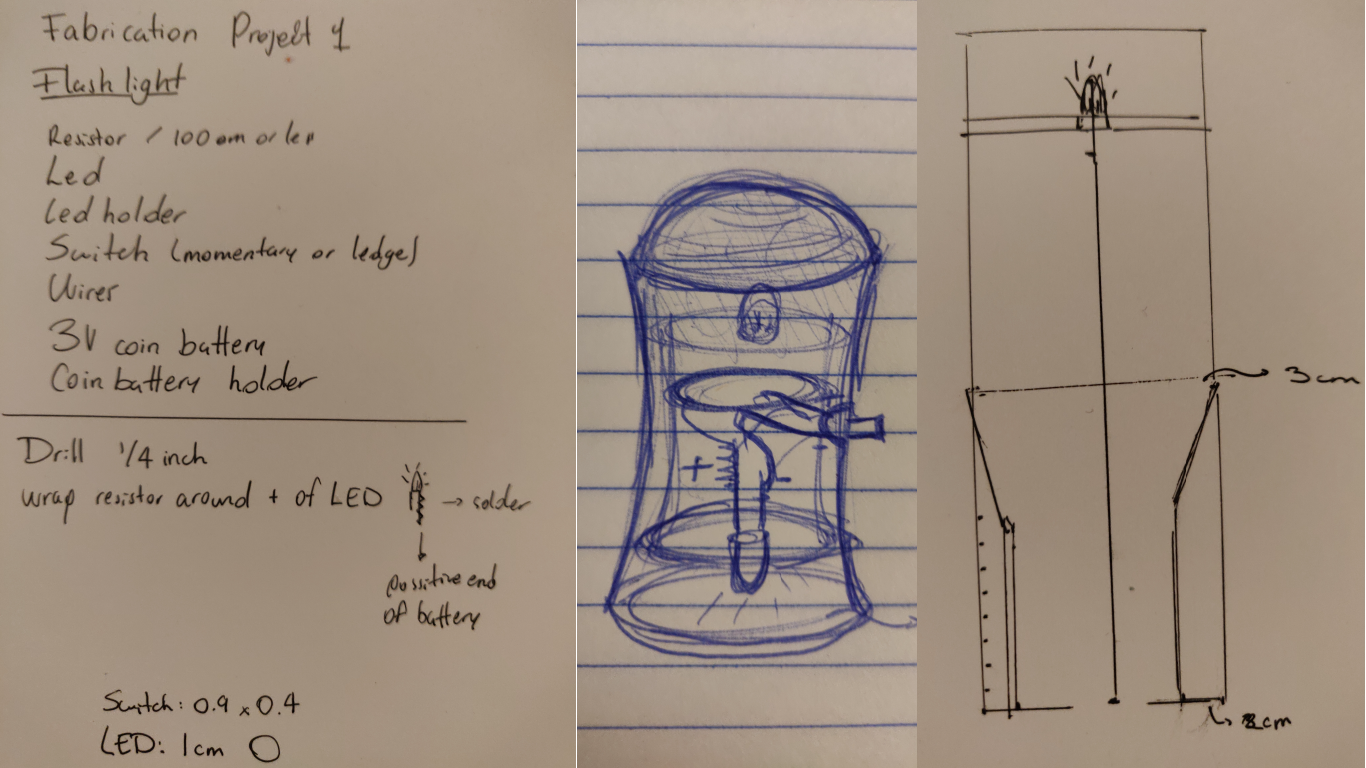
Ideation and sketching process
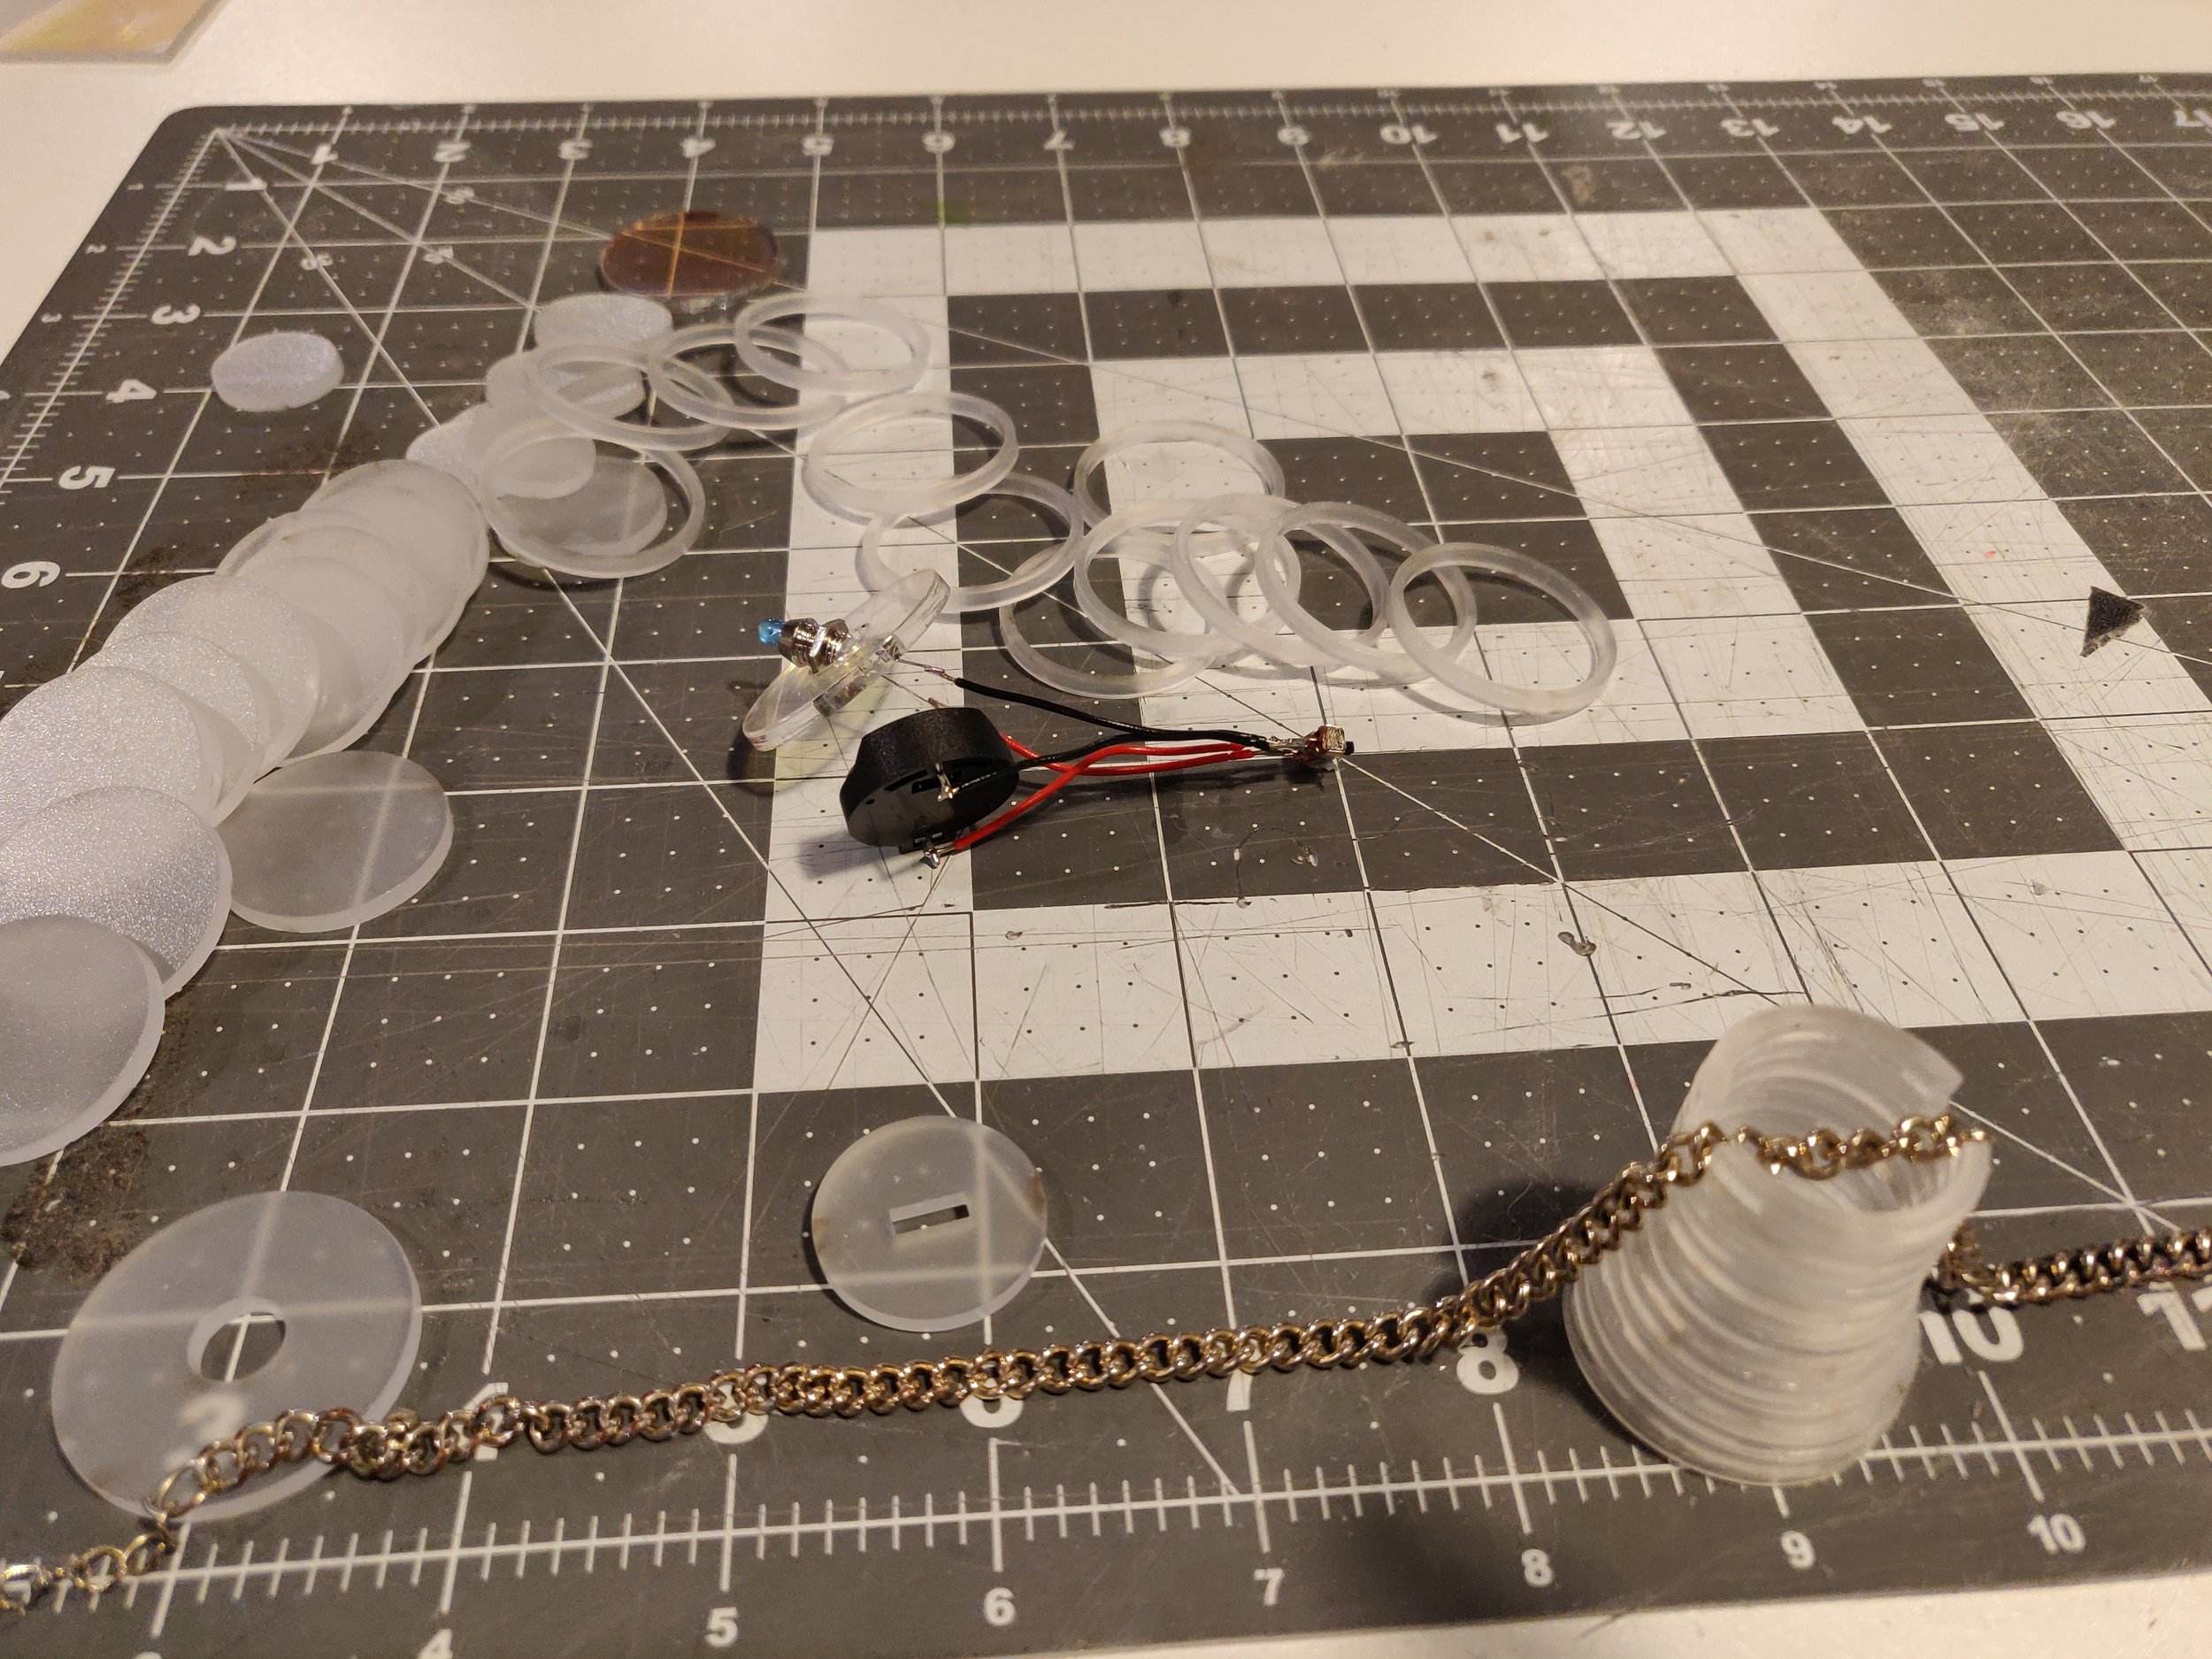
I decided to use a coin battery in order to be able to create a small flashlight that could be worn around the neck, this represented a huge challenge since I had to soldier all the components very close to each other. I use a toggle switch that decided to put in the bottom of the flashlight and a blue LED attached to an LED holder. I faced a lot of challenges while trying to make the light work due to the battery, since I have never worked with them before. The final process of the soldiering and testing looked like this.

Circuit with lighted LED controlled by toggle switch.
For the fabrication process I decided to create rings in Illustrator in order to generate a cylindric shape that would have the components inside, the button of the flashlight has a rectangular hole for inserting the toggle, also I left space for inserting a necklace from the sides and the top of the flashlight contains the light which is confined also by an internal circle piece with a hole so that the top of the LED could come out and at the end I finished with one last full circle of acrylic in a with fluorescent film on top.
I had to ensemble all the rings one by one and make sure that they were aligned and forming the desirable shape, at the same time the placement of the component represented a challenge due to the change in the diameter of the rings, therefore I had to make sure that at the end all the components would fit once I closed the flashlight.

Laser cutting the rings
Assembly of the rings with the components inside

Components inside the flashlight

Interior with exposed LED
The final result is a flashlight that can be worn as a necklace therefore the light can be generated wherever the user is. The biggest challenges of this project were trying to align the rings at the same time of keeping the components inside the cylinder and specially having to understand how to use small components in order to create a wearable device.

Final result: Flashlight
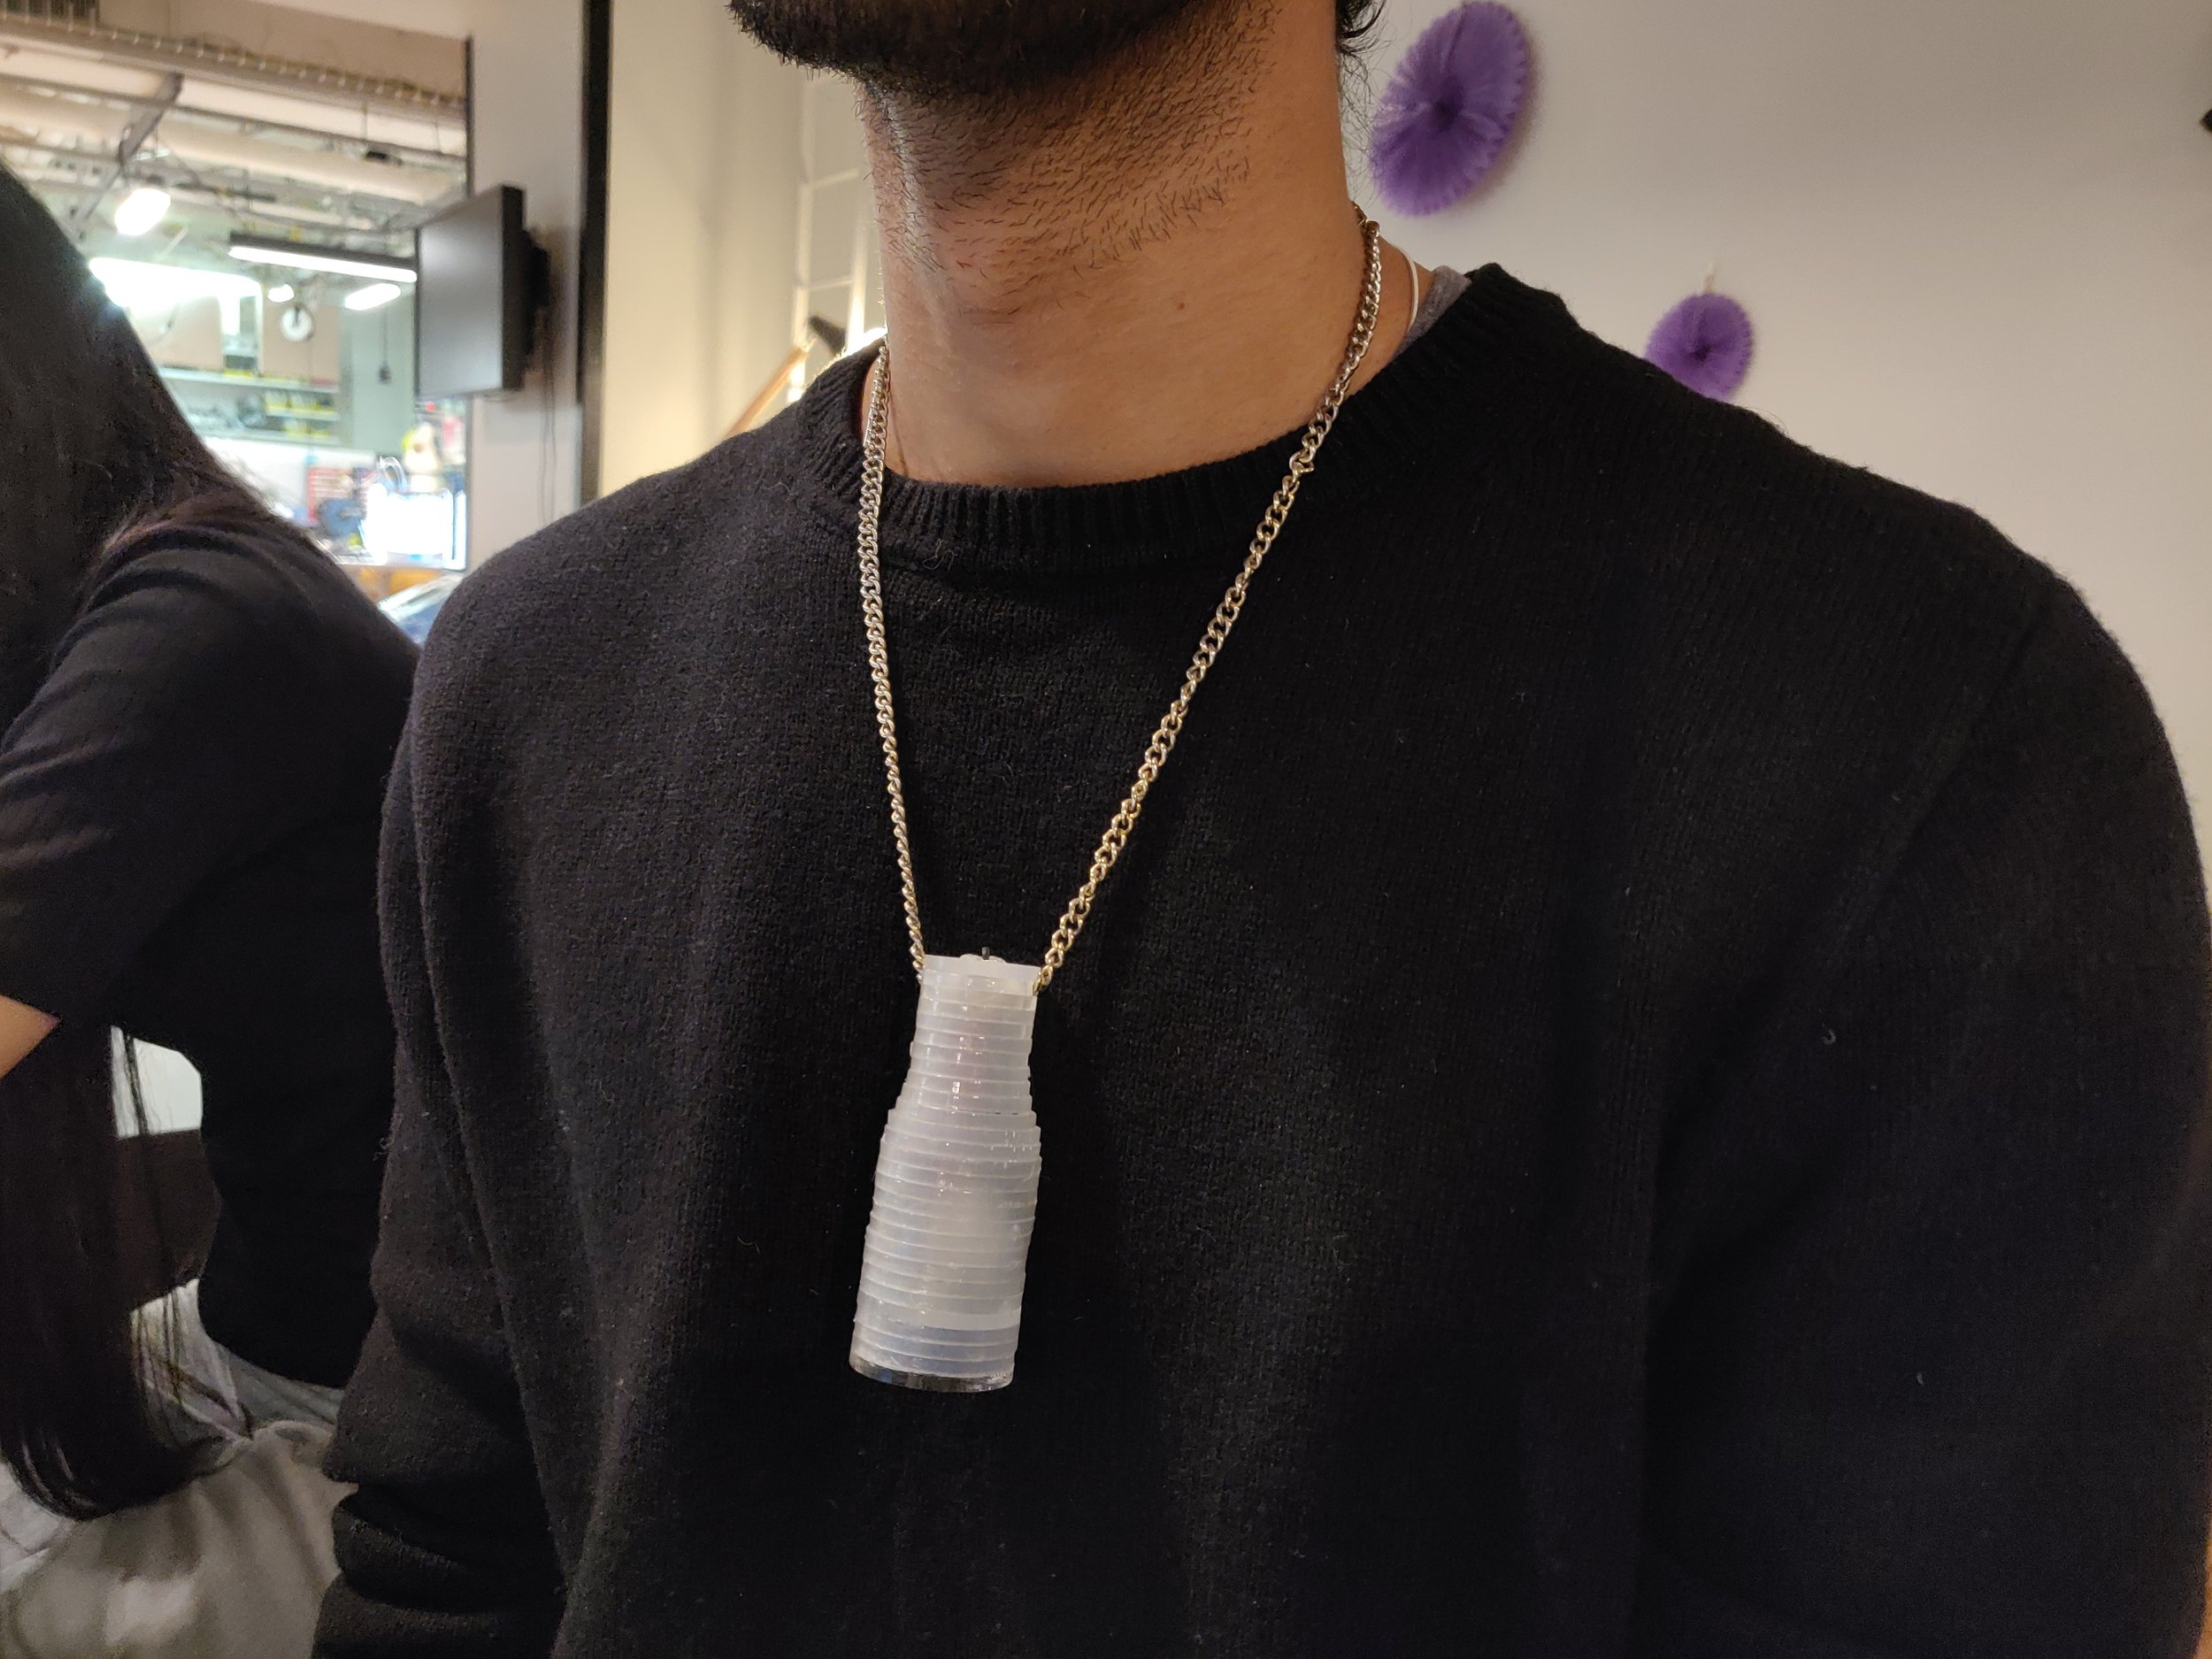
Flashlight / necklace